- Get link
- Other Apps

I can't believe we've made it 11 months into A Year of Dresses without making a La Tulipe dress! Well, today that will be rectified! I have loved this pattern since it first came out and have had this sweet Paris print fabric waiting to be made into a La Tulipe for almost just as long.

The La Tulipe Dress Pattern includes sizes 2-10 and is perfect for girls of all ages. With not a single stitch of gathering, this dress goes together very quickly and will please girls who do not fancy ruffles. With a full circle skirt though, there is plenty of twirl factor for girls who love to dance too! Pair the sweetheart neckline with the tulip sleeves and you have an oh so sweet and feminine dress. If you've never set in sleeves before, this dress is a great place to start. Because of the overlapping nature of tulip sleeves, there is no easing required. They are fast and easy, with a beautiful result! The La Tulipe bodice is fully lined and instructions are included for both buttonholes or button loops.

This pattern is perfect for our current spring weather. It's a bit chilly for sleeveless dresses yet (though Sweet Pea insisted it wasn't last week, I guess she wasn't cold!), and this little bit of a short sleeve is simply perfect. If you're still looking for an Easter dress, look no further! Choose a sweet spring print and stitch it up!
.JPG)
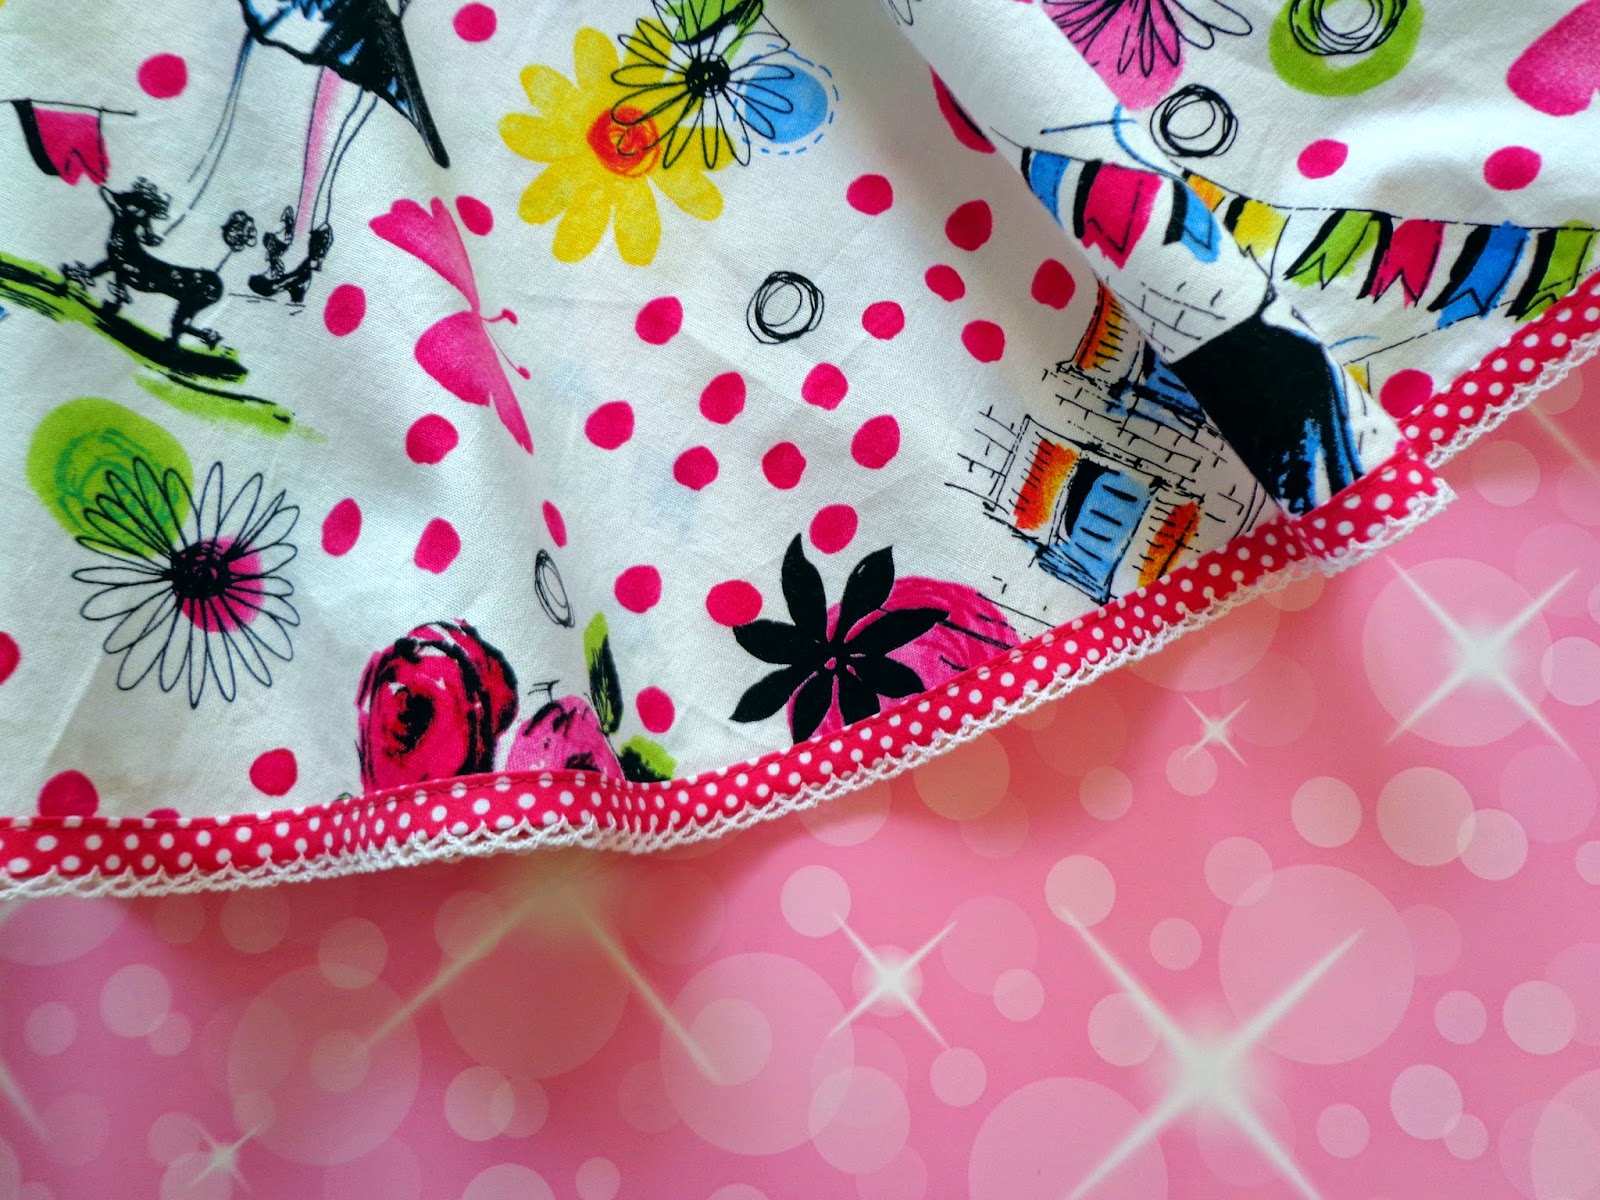
Now, if you're in our Tie Dye Diva Facebook group, I've been teasing you with the trim on this dress. I've had this crochet trim bias tape from Vintage Door on my Etsy wishlist for ages, and when it came time to sew LaTulipe I knew I needed some. Full enabler alert disclosure here, but you need some of this trim! Vintage Door stocks a variety of prints as well as solid crochet trim bias tapes and shipping was very fast. I'm already planning what my next project for this fun bias tape might be.

Here's how I used the tape in this project. Instead of sewing my sleeve main fabric and liner together and turning as instructed in the pattern, I bound the edge with bias tape. I also bound the hem instead of folding a narrow hem. This was really quite simple.
For the sleeves instead of sewing the bottom edge right sides together, simply lay them wrong sides together and base the top edge together. Then trim 1/4" (the seam allowance for this seam) from the bottom edge of your sleeves.
 |
| Green is the liner on my sleeves |


Then topstitch the bias tape to secure.

Repeat for both sleeves.

And finally, a quick word about topstitching. This is certainly not the only right way, but here's a couple tips for how I topstitch and achieve nice even stitching. I use a 3.5 stitch length and loosen my tension just a little bit. I like to use an open toe foot on my sewing machine for topsitiching. I line the seam up with inner edge of my foot and adjust me needle position to be a bout 1/8" from the seam edge.

For even more guidance, try using your blind hem foot for your sewing machine. The blind hem foot will have a plastic or metal guide that can be run right along the seam for a perfectly uniform stitch distance.

Nice and pretty!

If you don't yet own this pattern, it is definitely needed in your collection! It is a classic style that is great for every season and occasion, You'll come back to it time and time again! Sweet Pea loves hers and I'm sure she's not alone!


Here's your quick pattern rundown:

- La Tulipe dress pattern includes sizes 2-10
- Sweetrheart neckline
- Tulip sleeves
- Options for buttonholes or button loops
- Fully lined bodice
- Not a stitch of gathering!
- Advanced Beginner sewing level
Comments