- Get link
- Other Apps
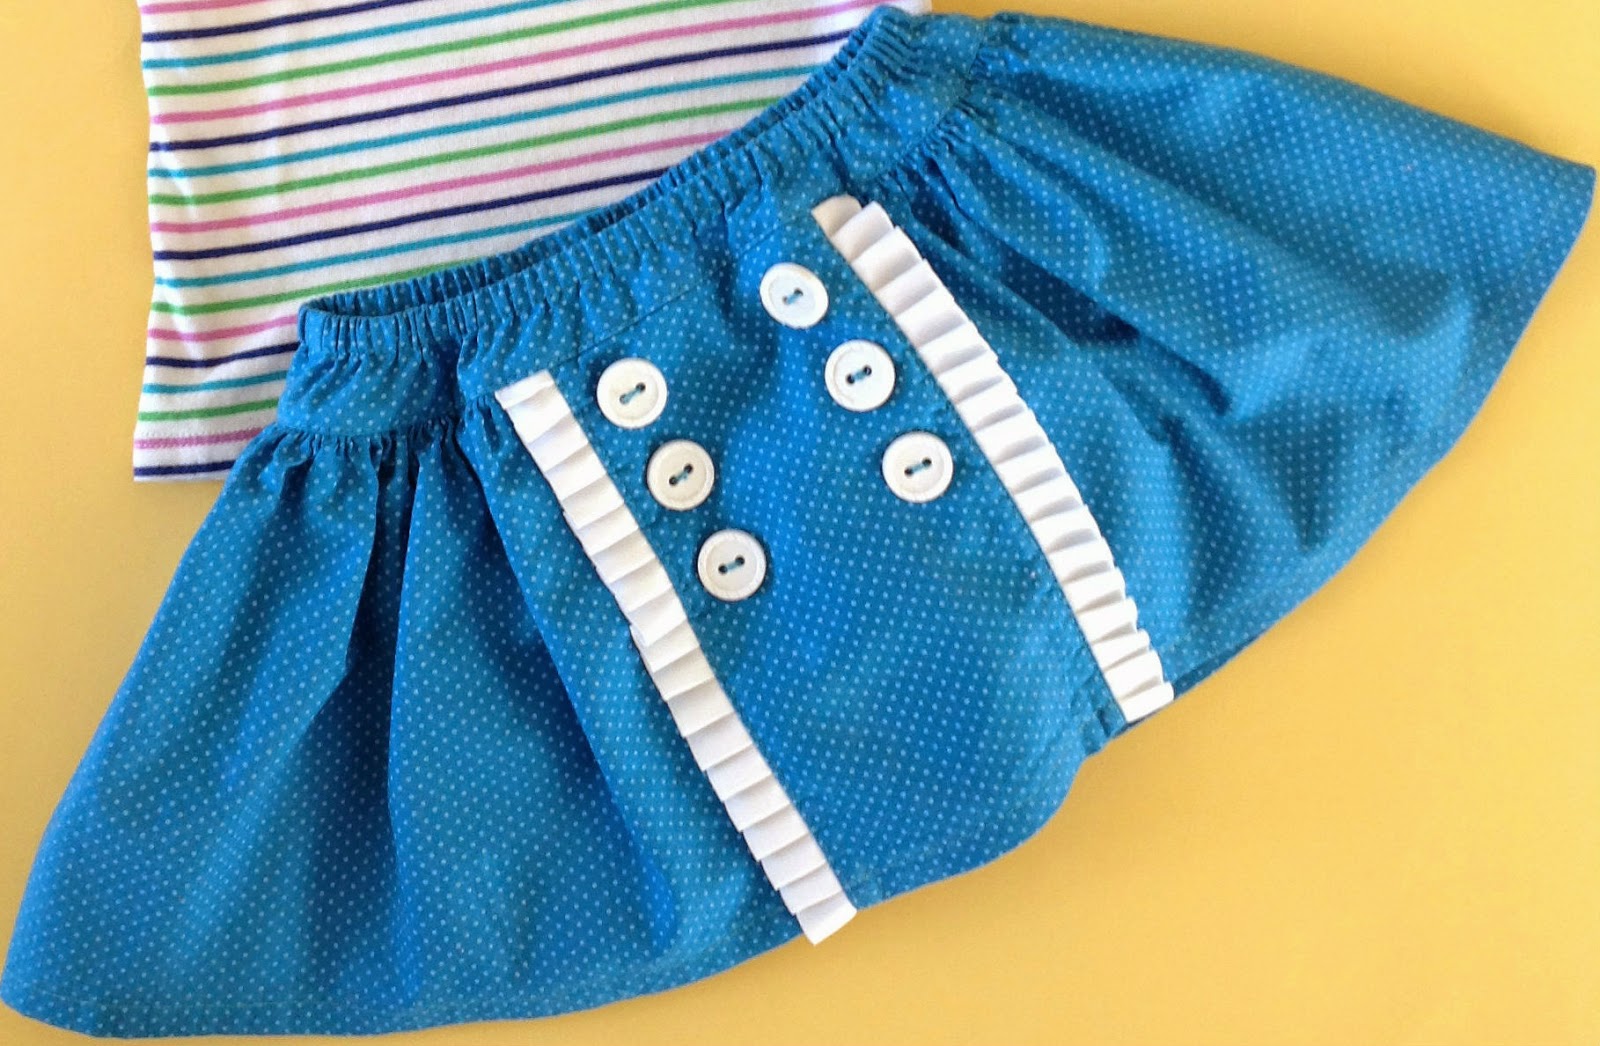
We are on week five of my fifty-two week quest to showcase a different Tie Dye Diva pattern each week! This week I give a nod to the nautical and show you how to turn your Baby Skirted Diaper Cover into an adorable Sailor style skirt. You could also use the Miss Muffet Twirl Skirt to make a girls size version. As always when I make a skirt, there's a cute tee to go with it! Do you see a picture you love? We've made it easy to pin your favorite to Pinterest. Hover your mouse over the picture and click on the large Pinterest icon that appears!

Let's start look first at the Skirted Diaper Cover. This is a baby size pattern including sizes 0-24 months. Skirts like these were my absolute favorite when Sweet Pea was tiny, and I still love them on her! No diapers showing and no separate diaper cover needed to prevent it! The skirt and diaper cover are attached in one. If you are sewing for bigger girls the Miss Muffet Twirl Skirt has optional attached bloomers, making it a perfect everyday play skirt for an active girl.

Repeat for the other side. You have now defined your classic sailor front panel.


I adore how this skirt came out!

I used the ever helpful Google to fine a simple whale shape. The simpler the better for a project like this. After printing (scale down if necessary), trace the shape to your fabric and cut out.
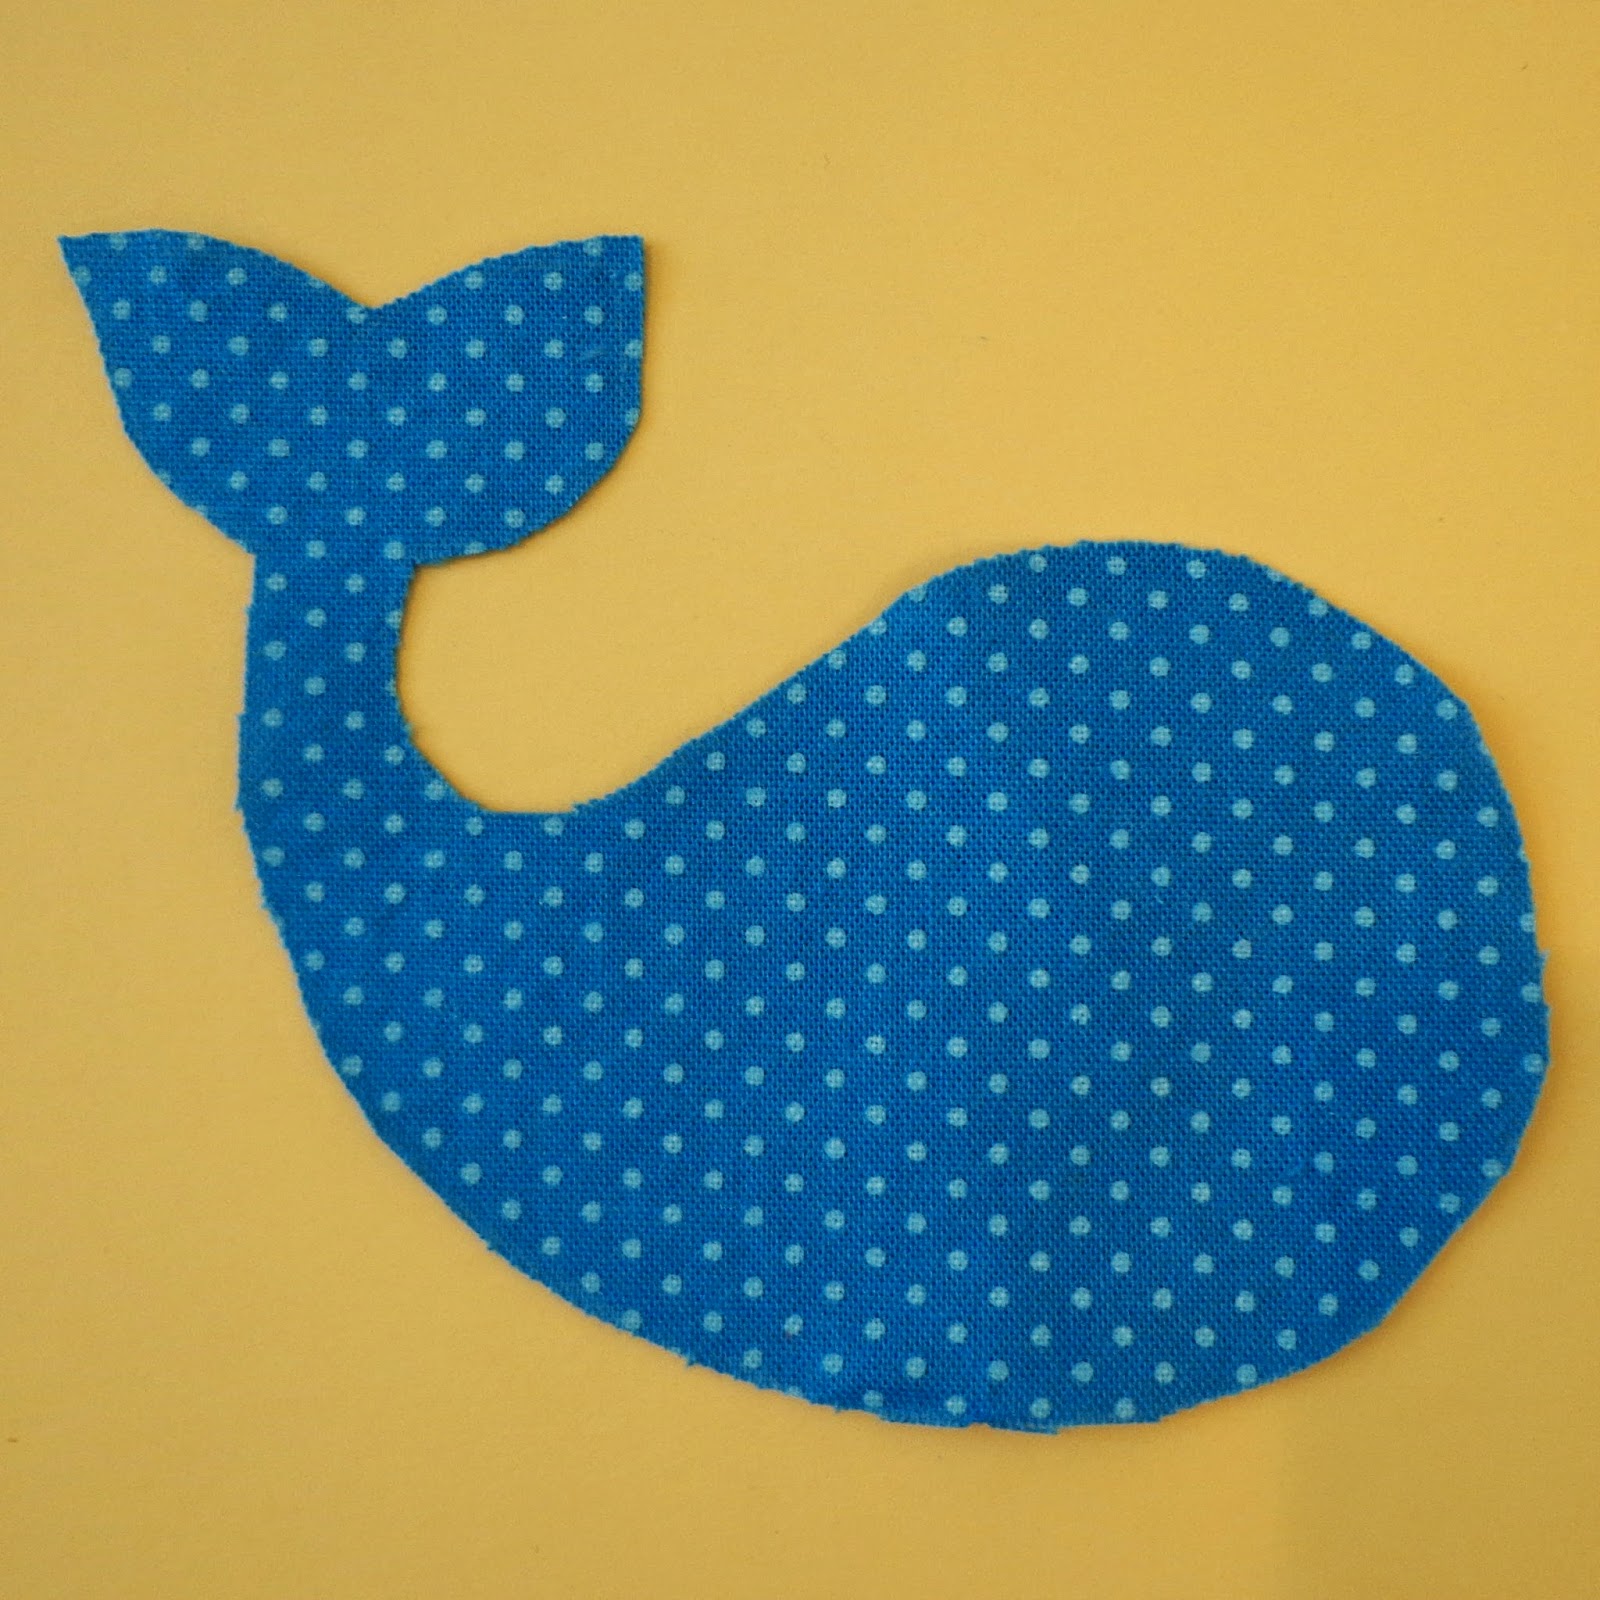
To control the fraying and seal the edges I put a fine line of Frey Check around the edges.


The skirt is full and sweet for easy movement. Falling at the knee it is also short enough to not be a tripping hazard.

Let's start look first at the Skirted Diaper Cover. This is a baby size pattern including sizes 0-24 months. Skirts like these were my absolute favorite when Sweet Pea was tiny, and I still love them on her! No diapers showing and no separate diaper cover needed to prevent it! The skirt and diaper cover are attached in one. If you are sewing for bigger girls the Miss Muffet Twirl Skirt has optional attached bloomers, making it a perfect everyday play skirt for an active girl.
With just a few simple changes this skirt easily transforms into a nautical beauty! First we'll cut out your Skirted Diaper Cover pattern. Cut the diaper cover and waistband as per the pattern. For the skirt we are going to cut a bit longer than the pattern for a knee length finished skirt. For my 18-24 month skirt I cut the skirt 9" long by the given pattern width. For smaller sizes subtract one inch per size.
Skirt cutting length for a nautical knee length skirt:
0-3 months: 5"
3-6 months: 6"
6-12 months: 7"
12-18 months: 8"
18-24 months: 9"
3-6 months: 6"
6-12 months: 7"
12-18 months: 8"
18-24 months: 9"
Grab one of your skirt panels and set the rest of your pieces aside. Just a few embellishments will transform the skirt front.
Find and mark the center of the skirt panel

Mark the width of your sailor panel. Mine is a total of 4 1/2" wide or 2 1/4 from either side of the center mark. For sizes 0-12 months you probably want to make the panel a bit narrower.
 |
| Pretend you don't see two marks on each side of mine! |
Now we are going to add a classic ruffle to define the boarders of the panel. I am using this beautiful knife pleat ribbon trim I found at Hobby Lobby. It is simple and quick to use. You could also make your your own fabric ruffle or use a different trim.

Align inside edge of your trim with the line you just drew. Make sure your trim is right side together with your skirt and oriented towards the center of the panel. Stitch about 1/4" from the edge.

Now flip the trim so that wrong side of the trim is on the right side of your fabric and the edge is enclosed in the fabric. Press and topstitch close to the folded edge.
Align inside edge of your trim with the line you just drew. Make sure your trim is right side together with your skirt and oriented towards the center of the panel. Stitch about 1/4" from the edge.
Now flip the trim so that wrong side of the trim is on the right side of your fabric and the edge is enclosed in the fabric. Press and topstitch close to the folded edge.
 |
| This is what the back should look like before topstitching |
Now is the ideal time to add your buttons. I still needed to purchase at this point in the construction so I added them at the end. Button placement will depend partially on your button size. Mine are 7/8". I placed my buttons 3/4" from the topstitched edge. The first button is 1 1/4" from the top, unfinished edge and each button after is 3/4" from the center of the previous button.
You are now ready to continue according to the pattern instructions up to gathering the skirt to the diaper cover. When stitching my hem I stitched the sailor panel, then started stitching again just under the edge of the trim and continued around to the other side.


When stitching your gathering threads start on one side of the sailor panel and continue around the side and back to the other opposite side. We will not be gathering the center. Attach the skirt to the diaper cover matching side seams and evenly distributing gathers. The center panel will not be gathered.
That's it! Now finish your skirt as per the pattern. One of my favorite feature of this diaper cover (and all Tie Dye Diva diaper cover styles) is the bias tape casing on the legs. It is the very easiest method of making a casing on curves! I used purchased single fold bias tape, but you can also make your own. I personally love homemade bias tape and love to add a cute coordinate fabric when I make my own.
I adore how this skirt came out!
Now let's look at this tee! I'll admit this is not my favorite method of embellishment, but sometimes it is the most appropriate. I wanted to keep with the nautical theme and decided to add a whale applique to my shirt.
I used the ever helpful Google to fine a simple whale shape. The simpler the better for a project like this. After printing (scale down if necessary), trace the shape to your fabric and cut out.
 |
| I added a little extra around the tail so it wouldn't be quite so tiny to work with |
To control the fraying and seal the edges I put a fine line of Frey Check around the edges.
Find the center of your tee. Now you know what I'm going to say.... Glue your whale in place! Use a thin line of washable school glue and set it with a dry iron. You can now manipulate your tee without your whale shifting around.


Stabilize your tee before stitching on your whale. I used a water soluble stabilizer behind my tee. Now we are ready to stitch the whale to the shirt using a satin stitch. A satin stitch is just a very close zig zag stitch. I experimented with my stitch length a bit before starting and decided a stitch length of 0.2 worked best on my machine. Stitch around the entire whale. Make sure that you sew with your needle down and pivot around the curves. It is essential that you only pivot when your needle is on the outside of the curve. This will make sure that there are no gaps in your stitching. After finishing if there are some places where your stitching is not as dense as you would like simply stitch over that sections again. I did in a few places on mine. I bet if I don't point them out you will not see where they are!

Add a couple embellishments are you are done! I drew on a mouth and water spout with a fabric pen then stitched with a triple topstitch. You could also use a regular straight stitch and go over it a couple times for extra boldness. Add a button eye and presto!, another adorable outfit done!

I trimmed away excess stabilizer then threw in the laundry to dissolve the rest.
Is this not an adorable outfit?!?

It is the perfect go to for every day play. I love the attached diaper cover. It ensures that pictures like these are still sweet photos!
The skirt is full and sweet for easy movement. Falling at the knee it is also short enough to not be a tripping hazard.
Skirts are perfect for every season. A long sleeve tee or cardigan is great for cooler days. And when cold weather comes to stay for good be sure to add warm tights!

Sweet Pea loves her 'fish' shirt. I love the comfortable practical style that is still packed full of cuteness!
Are you enjoying reading A Year of Dresses each week? Make sure you pin your favorite picture to Pinterest for easy reference in the future. Also, to see past A Year of Dresses posts and be sure you don't miss any future posts, follow our A Year of Dresses Pinterest board.
Sweet Pea loves her 'fish' shirt. I love the comfortable practical style that is still packed full of cuteness!
 |
| Sweet Pea wasn't too into pictures today and preferred to be on this side of the camera with me! |

- Sizes 0-24 months
- Advanced Beginner sewing level, due to curved hem and applying bias tape
- Designed so that no elastic touches sensitive baby skin
Comments