- Get link
- Other Apps
Hello, Rachel again. Welcome back to week 3 of A Year of Dresses, where I aim to feature a Tie Dye Diva pattern each week for a year, sharing tips and tricks as well as a some tutorials and modifications! We will cover all the seasons (sorry, they might be a bit opposite for those of you in the Southern Hemisphere) and all the sizes, baby through girls. There is sure to be something for everyone!
Remember we've made pinning to Pinterest even easier. Simply hover over the photo you want to pin and click on the large Pinterest icon to start pinning! Follow Tie Dye Diva on Pinterest to keep up with all the TDD news and find amazing dress inspiration.
This week you are in for a treat! Last week's pattern was baby sizes so this week I made sure to cover girls sizes. Today I bring you the RufflePOP Skirt! But wait there's more! Whenever I feature a skirt in A Year of Dresses I'll be giving you a fun tutorial for dolling up a tee to go with it! But up first is the amazing RufflePOP. This skirt features a sweet a-line shape, a cute pop of color, and a fun little ruffle. The pattern includes sizes 2-8.

I have to say that I love this sweet skirt. It is so fun and unique. It's not super ruffly or twirly, but is perfectly girly. The a-line shape is really sweet and full enough for ease of movement.

The POP element, is so cute and unique. I love the perfect opportunity to use a cute coordinating fabric for a little pop of color.

This skirt is a very quick sew. The most time consuming part is undoubtedly making the ruffle. I wanted to make this skirt quick and easy so I chose to use a cute eyelet trim instead. No gathering! 1 1/4" trim is ideal for the RufflePOP but don't worry if you have a different width. My eyelet time is closer to 2" but it worked just fine! For my size 2 I used about 1 3/4 yards of trim. 2 1/4 yards would be plenty for the largest 7/8 size. If you have a ruffler foot for your sewing machine that would be a quick and easy option for this skirt as well.
The a-line shape of this skirt is perfect! It's not full and twirly but Sweet Pea had no problem running and playing at the park.


I added a Plain Diaper Cover under Sweet Pea's skirt to keep her cutely covered. For older girls Run and Play Bloomers would be great. Slide away Baby Girl!

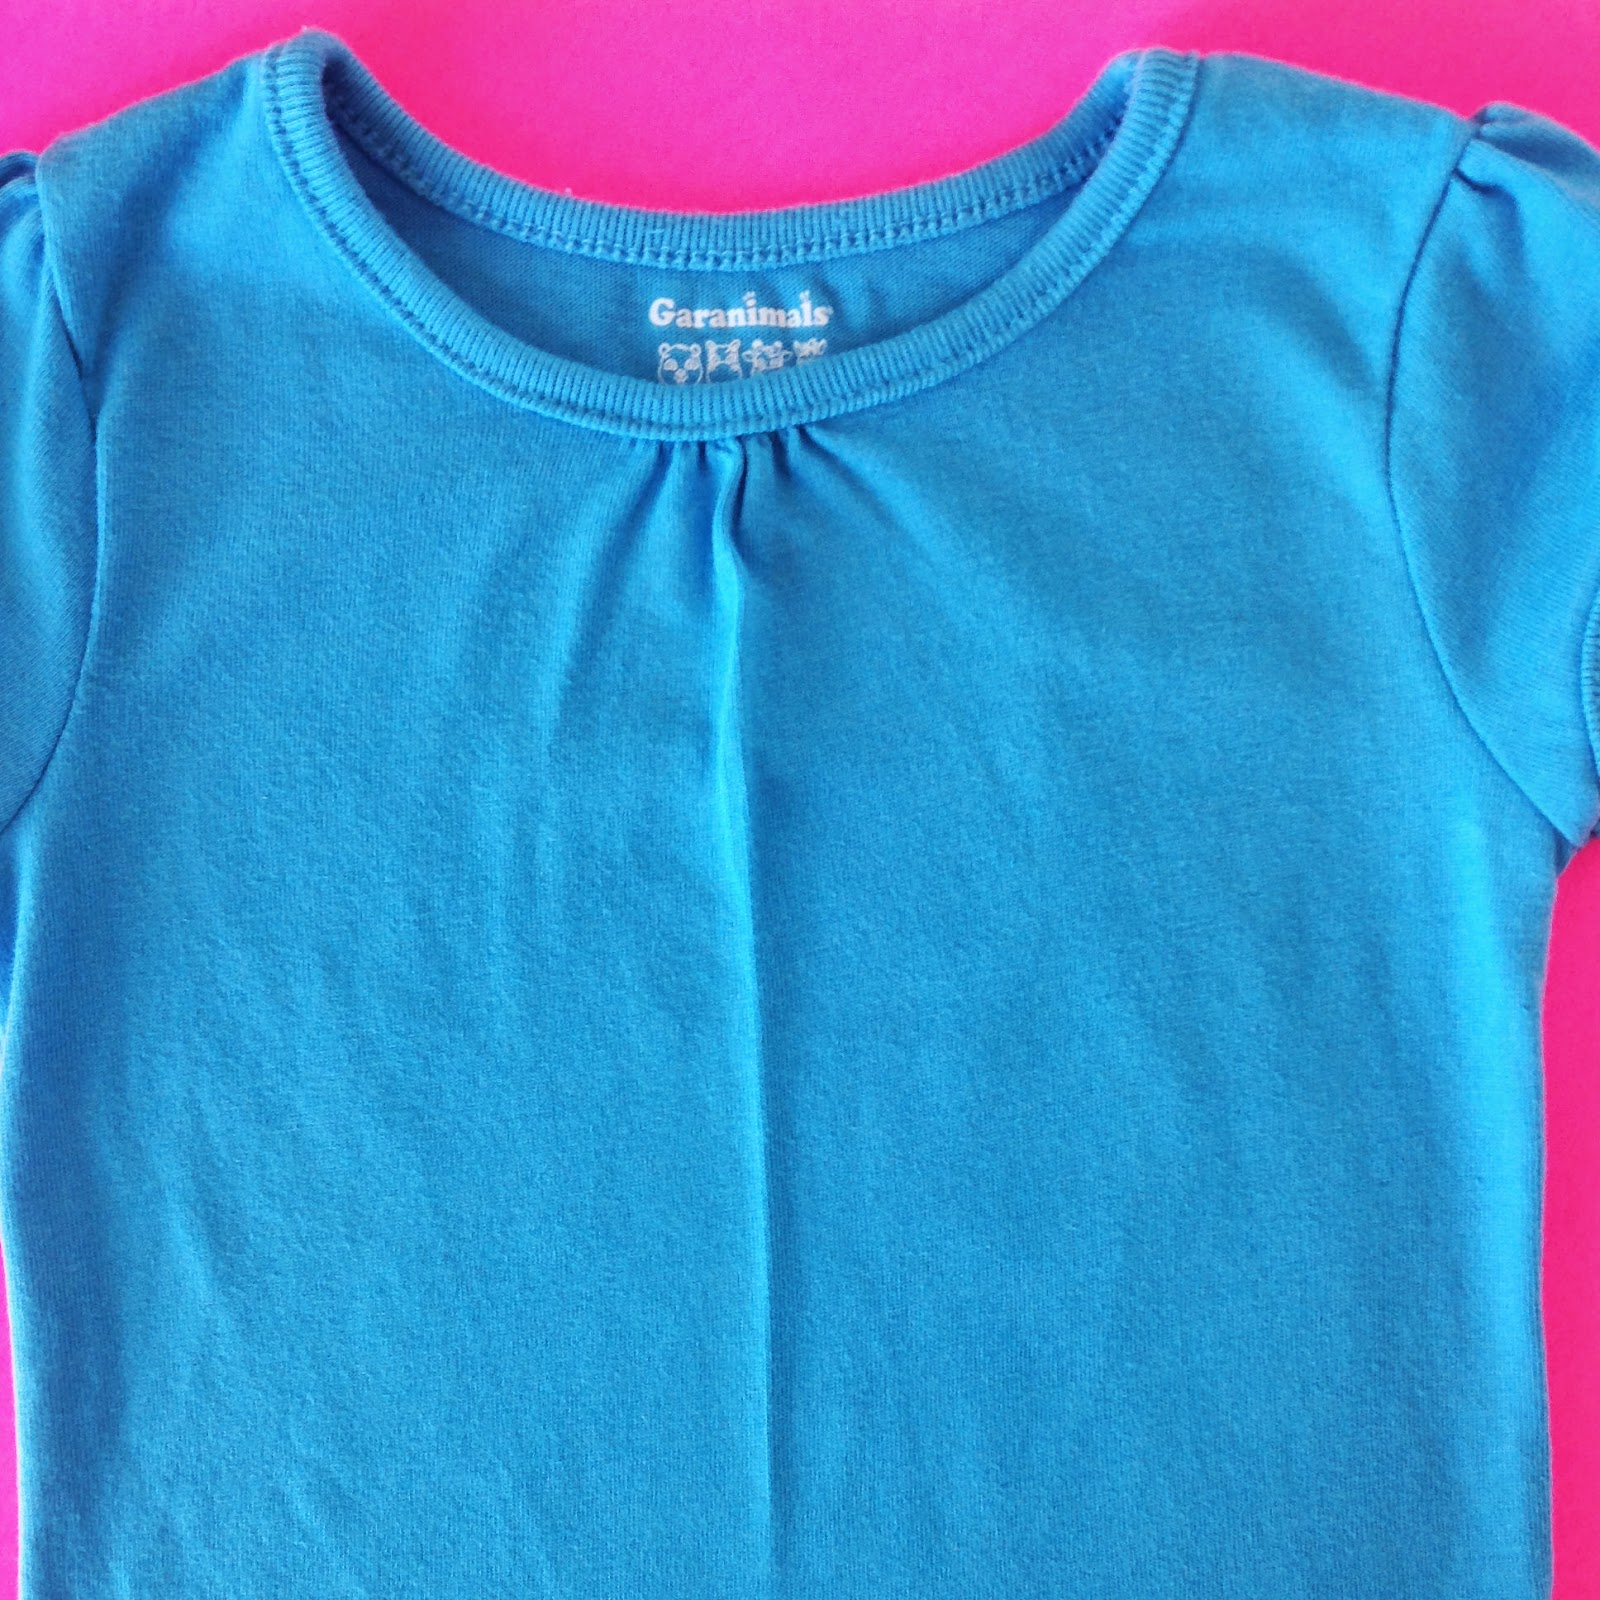
Now, that cute tee that Sweet Pea is wearing.... I am sometimes envious of all the cute embroidered tees I see that really pull an outfit together, but I don't have an embroidery machine. Yet the possibilities are endless for non embroidered embellishment! So this week I'm going to show you how to add a cute bib to an inexpensive purchased tee. In this case I really think it made the outfit!.
I started with a plain tee. It's a good idea to pre-wash it in case it shrinks. I also pre-wash my fabric.

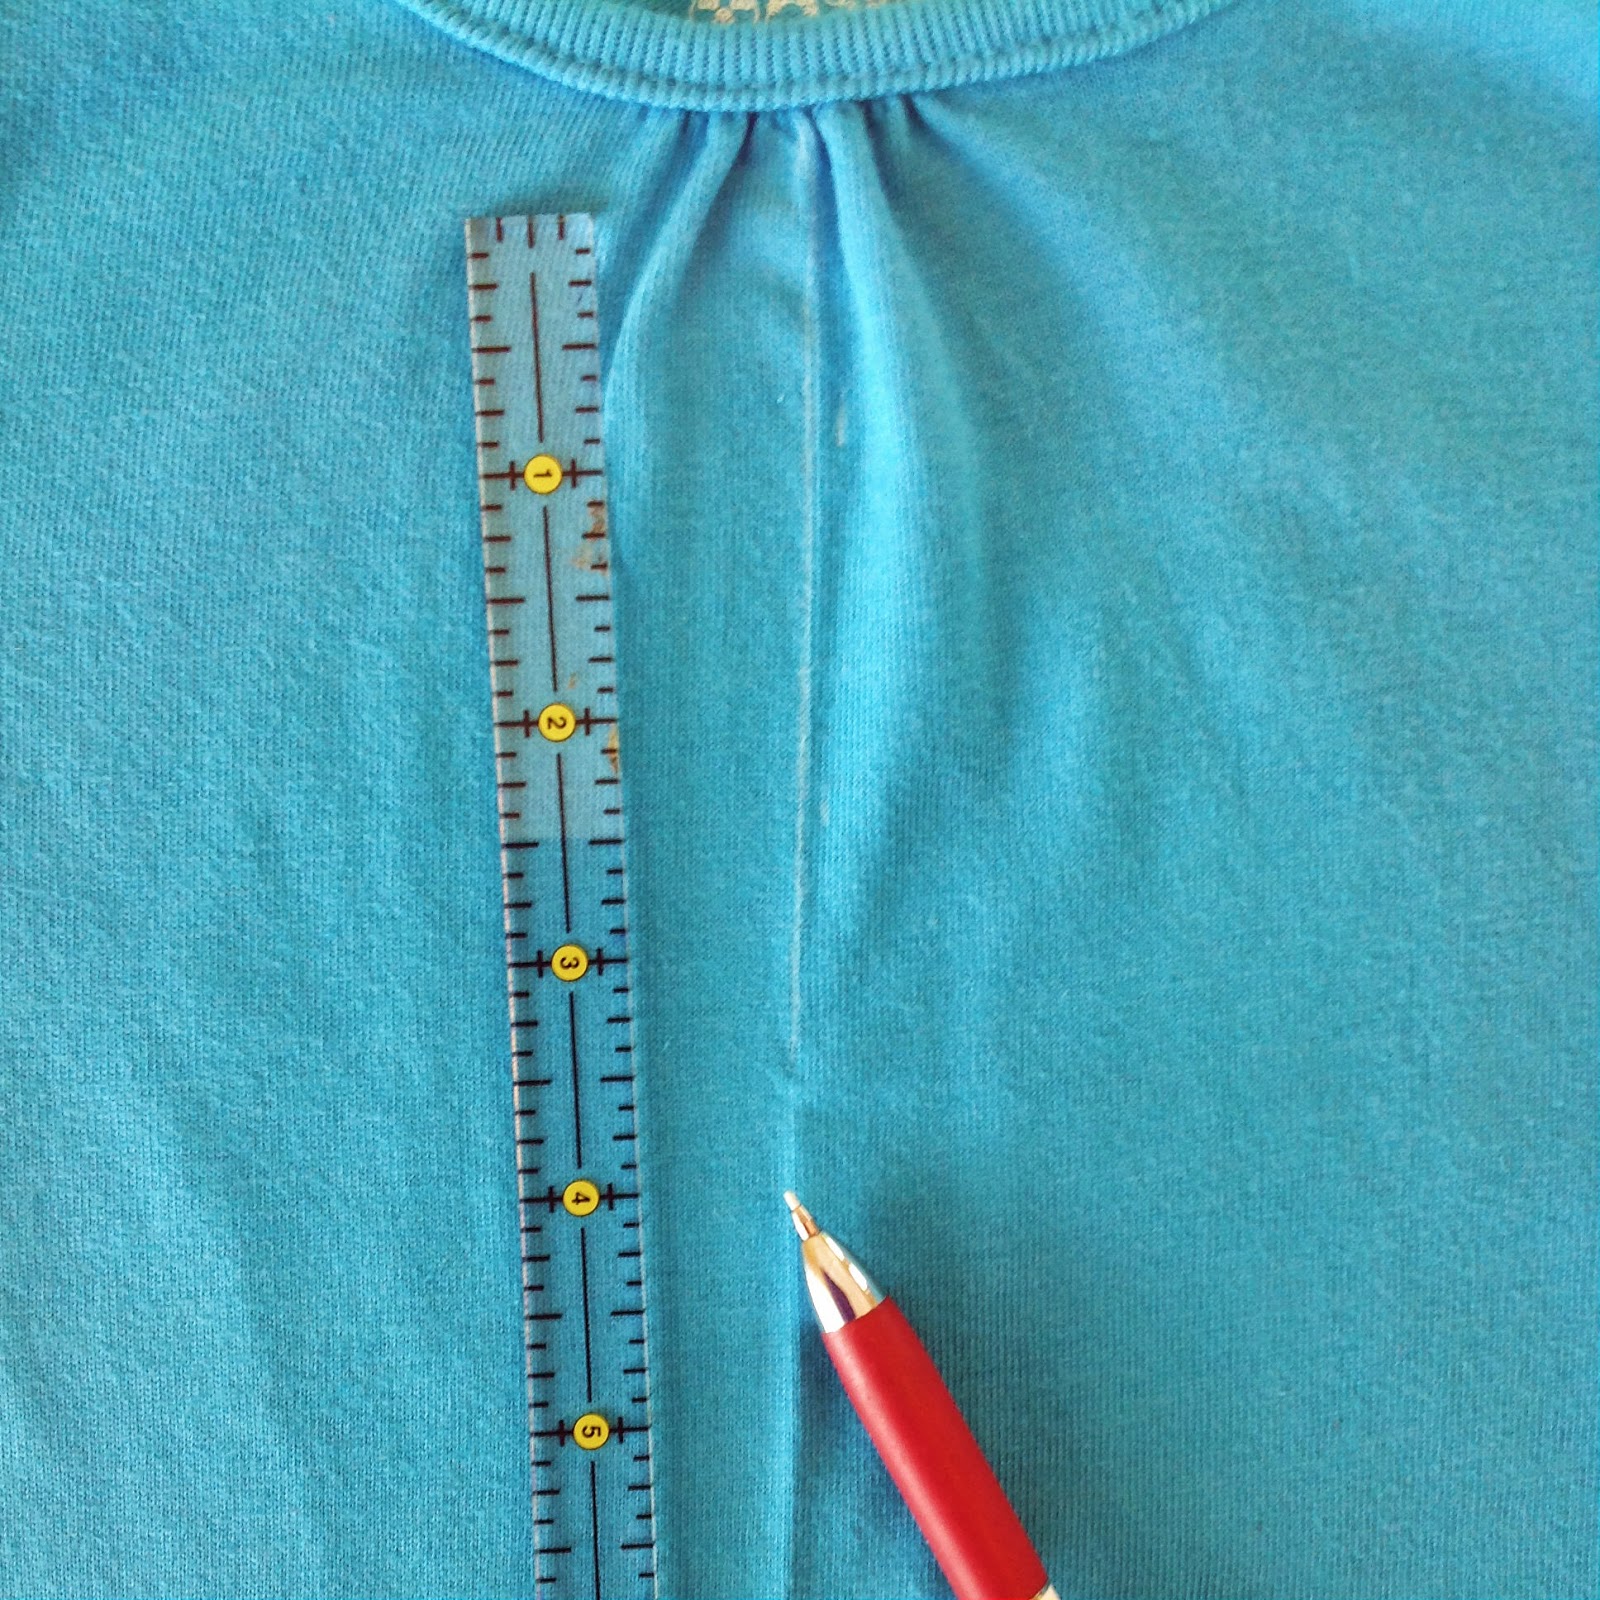
The gathers at the neckline are not ideal, but we are going to work with them and in the end, you'll never know they were there. We are going to start by making a simple pattern for cutting the bib. Begin by folding your tee in half to find the center front. Make sure that you line up the side seams and shoulder seams.

Next mark your center front. I ironed a crease but you could also draw a line with your favorite fabric making pen,
Next we need to decide the desired shape of the bib. To do this I used crochet thread to visualize the finished shape. You can make the bib any size and shape you like.


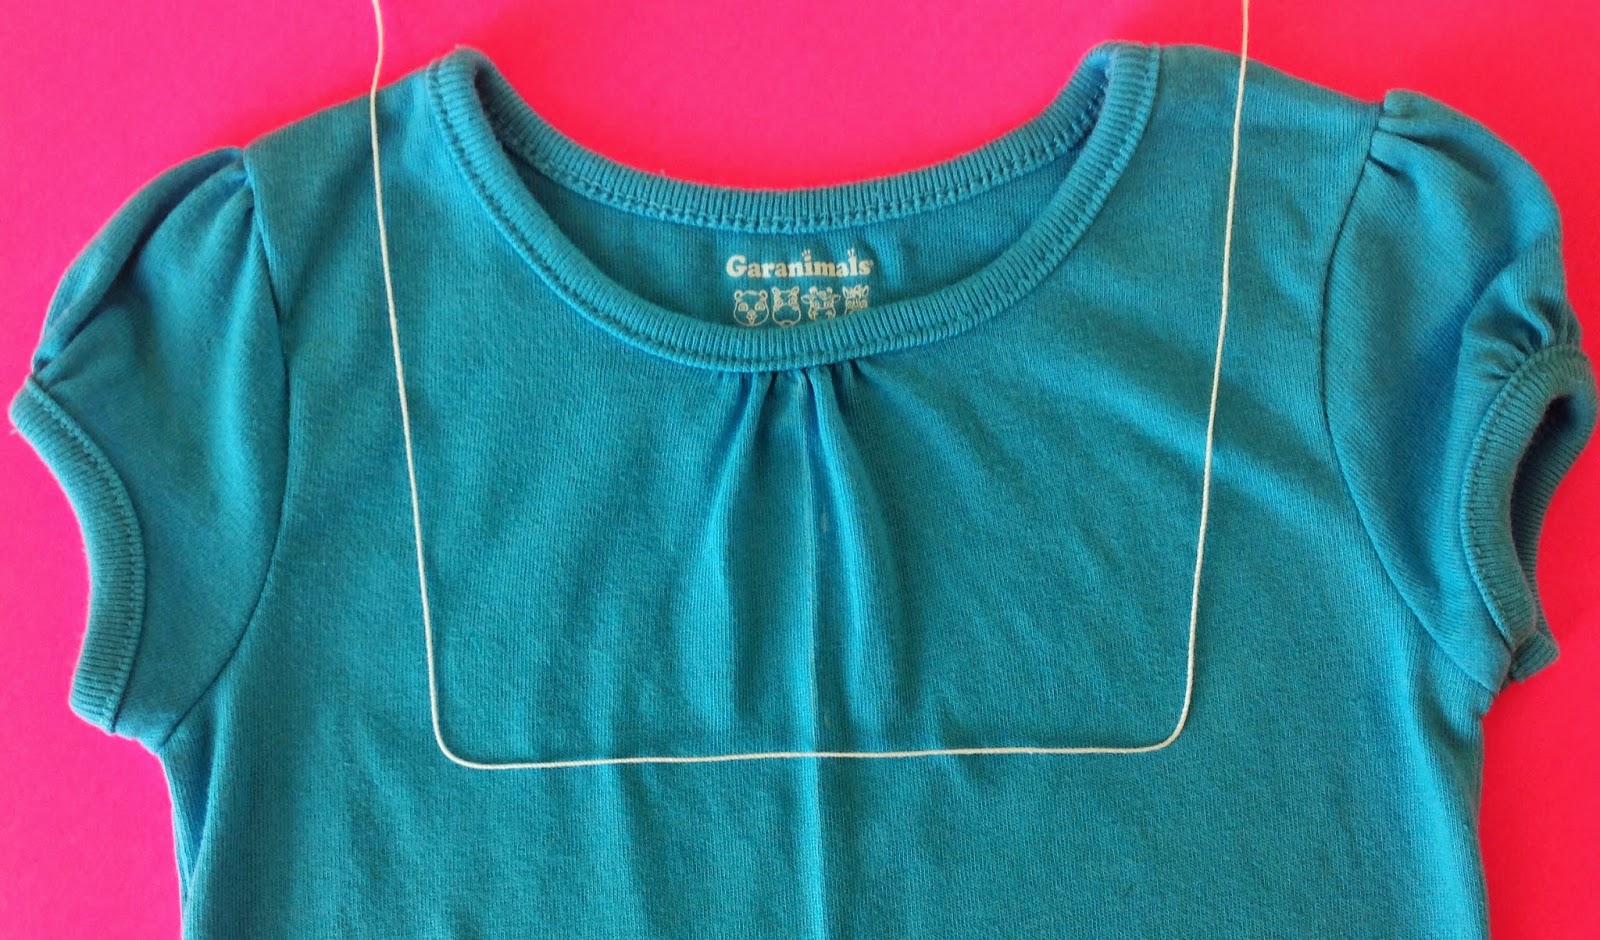
Once you have chosen your shape we are going to make a simple pattern. Make sure to leave your crochet thread in place. I am using inexpensive interfacing to make my pattern. It is nice in that it sticks to the tee a bit so as not to slide around and it is transparent. Grab a scrap and place it over the top of the tee. It only needs to be big enough to cover the front from center to sleeve and about half way down the length of the tee. Using a marking pen trace along the neckline at the ribbing seam and straight across the shoulder. This gives you the proper neck shape. Then trace over your crochet thread. You should have something that looks like this:


We now need to add a seam allowance. Grab a ruler and and draw 1/4" out from the shape you just made. You now have your finished pattern piece! Pretty easy!


Making sure you place it on the fold of your fabric, cut out your bib piece. I chose to use the same fabric that I used for the "Pop" in my skirt. Now we will turn under the raw edge 1\4" so that we have a finished edge. Fold under the top edge using steam to get a nice crisp edge. Clip the curves of this edge to help it lay flat. To help press the bottom edge stitch a basting stitch 1/4" from the edge then fold on the stitching line. Once you have a crisp edge pressed, remove the basing threads. Make sure to press under the shoulder seam edge also.


Now get ready to be amazed! Or maybe that's just me... Grab a bottle of washable school glue and add a fine line of it to the wrong side of your bib.


Before stitching though choose the trim you are going to add to the bottom edge of your bib. Piping, Ric Rack, or other ribbon trim that will bend around the curve are all good choices. I decided to go with white Ric Rack for this tee. Whenever I use Ric Rack I heat seal the ends. To do this grab a lighter and run the end of your Ric Rack quickly through the flame. Don't be intimidated, it's not hard! Try it on a scrap first. With heat sealed ends you can topstitch your Ric Rack to the bib just matching it to the beginning and end of the bottom edge; it will not fray. Now head to your sewing machine. Topstitch the bib. Because it is glued in place you can add your trim as you go without the need to baste first.
 |
| See how easy that glue makes it? Amazing! |

Add a couple buttons if you like and your tee is done. Stand back and admire the cuteness! You now have an amazing outfit!

Pack a picnic and head to the park, this outfit is great for playing and amazingly cute!


- Sizes 2T - 7/8
- Beginner / Advanced beginniner sewing level (I'd definitely say beginner if you choose trim instead of gathering your own ruffle)
- Cute a-line shape
- Printable pattern pieces, not just a cutting chart.
Comments